In the field of fashion design, full print is a very popular and popular trend. It allows you to fully display your design across the entire area of the shirt (front, back and even sleeves). But it’s not easy to get perfect results. You need to understand processes and techniques. It’s related.
The difference between cutting, sewing and sublimation
When it comes to full printing, you will find that there are two main production methods: cutting, sewing, and sublimation. Both methods have their own advantages and disadvantages.
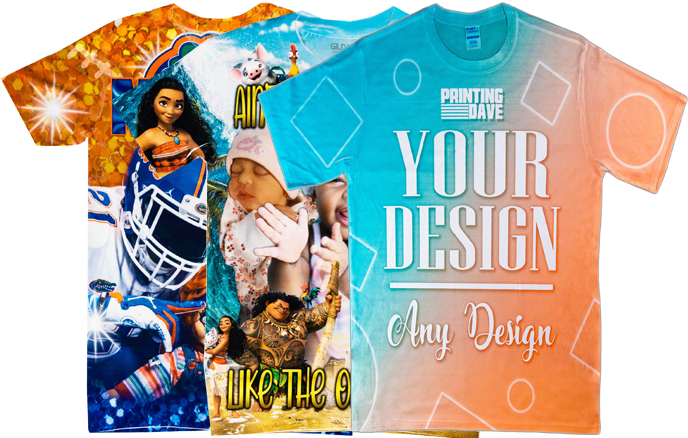
Cutting and sewing is a more complex process in which fabric is first printed out of your design, then cut and stitched together to form a shirt. This allows you to precisely control the position of the graphics, with no white marks around the seams, a common problem in sublimed shirts.
Sublimation is a simpler and faster process, and the design is printed on shirts that are already produced. This makes the production process faster and cheaper. However, the downside is that there may be white marks around the seams, and graphic positioning may not be as accurate as cutting and sewing.
Why cut and sew?
If you need the highest accuracy and quality of graphic positioning, cutting and sewing are the best choices. Also, if your design has a colorful background, choosing to cut and sew will help you avoid white marks around the seams.
Design suggestion
Choose a light background: If sublimation is chosen, a light background will reduce white marks around the seam.
Design testing: Before mass production, the design should be tested on the actual shirt to see the results.
Use RGB colors: Cutting, sewing, and sublimation all support RGB colors, giving you a more vivid, saturated color.